Sealing Your Natural Stone
Step by step instructions
Step 1
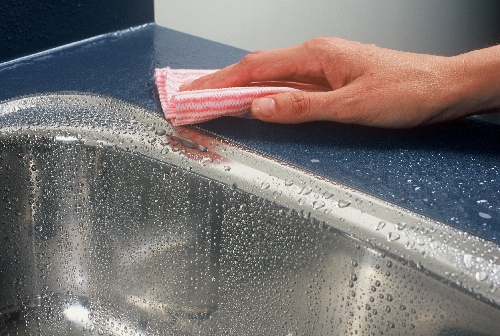
The water test is a quick and simple way to test if your natural stone countertops require resealing. Spray a few drops of water at the most used surface of your natural stone, usually around the sink, and leave it there 15 to 20 minutes before wiping it off. If the water is absorbed by the stone, it is time to reseal your countertops. But don’t worry because resealing your stone is a very quick, simple and inexpensive process. If no water was absorbed by the stone, you do not have to do anything and can go back to enjoying your one of a kind natural stone.
Step 1
The water test is a quick and simple way to test if your natural stone countertops require resealing. Spray a few drops of water at the most used surface of your natural stone, usually around the sink, and leave it there 15 to 20 minutes before wiping it off. If the water is absorbed by the stone, it is time to reseal your countertops. But don’t worry because resealing your stone is a very quick, simple and inexpensive process. If no water was absorbed by the stone, you do not have to do anything and can go back to enjoying your one of a kind natural stone.
Step 2
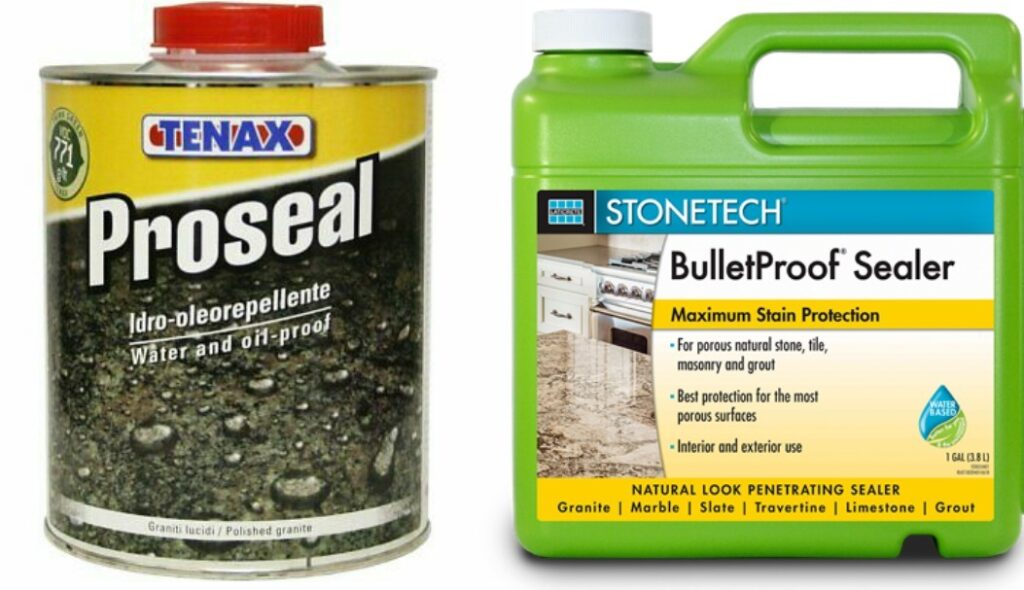
1. A sponge or cloth (lint-free is preffered)
2. A stone sealer, Stonetech Bulletproof or Tenax Proseal is preffered
3. Granite cleaner or a mixture of soap and water
Step 3
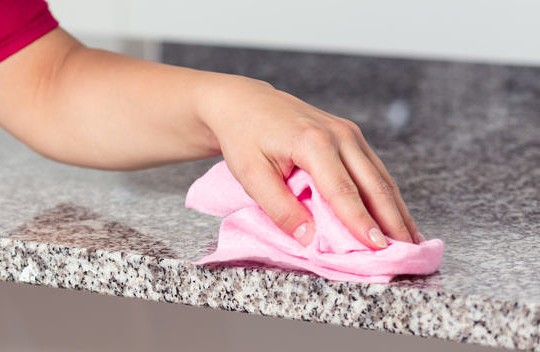
Use the stone cleaner or mixture of soap and water to clean the entire surface of the natural stone with a cloth. Let the surface dry fully before moving on to the next step.
Step 4
Once the surface is dry, use another clean sponge or a lint-free cloth to apply the sealer, make sure to wear gloves. Wet the cloth/sponge with the sealer, and gently apply the sealer to the entire surface. Pay attention to check which areas of the stone absorb the sealers fastest. Let the stone absorb the sealer for 15 to 20 minutes and wipe away any access sealer.
Step 5
Apply another coat of sealer to the entire surface, paying more attention to the areas that absorb the sealer fastest during the last coat. Check again to see which areas continue to absorb sealer faster. Let the sealer sit again for 15 to 20 minutes and wipe away any access sealer.
Step 5
Apply another coat of sealer to the entire surface, paying more attention to the areas that absorb the sealer fastest during the last coat. Check again to see which areas continue to absorb sealer faster. Let the sealer sit again for 15 to 20 minutes and wipe away any access sealer.
Step 6
Repeat steps 5 and 6 until the entire is surface is no longer absorbing the sealant. At that point your stone is fully sealed and protected. Depending on the stone, it may take anywhere from 2 to 5 coats to fully protect the stone. Extremely soft stones like Marble may even require more then 5 coats.
Step 7
Now that your stone is fully sealed, it will be protected from spills and day to day wear and tear. You can do the water test periodically to check if resealing is required, most sealers now are made to last several years. Avoid using any cleaning products with chemicals in it such as Windex, 409, etc. to avoid resealing quicker.
Feel free to call us anytime if you have any questions about protecting or maintaining your natural stone.